Questionable Address List
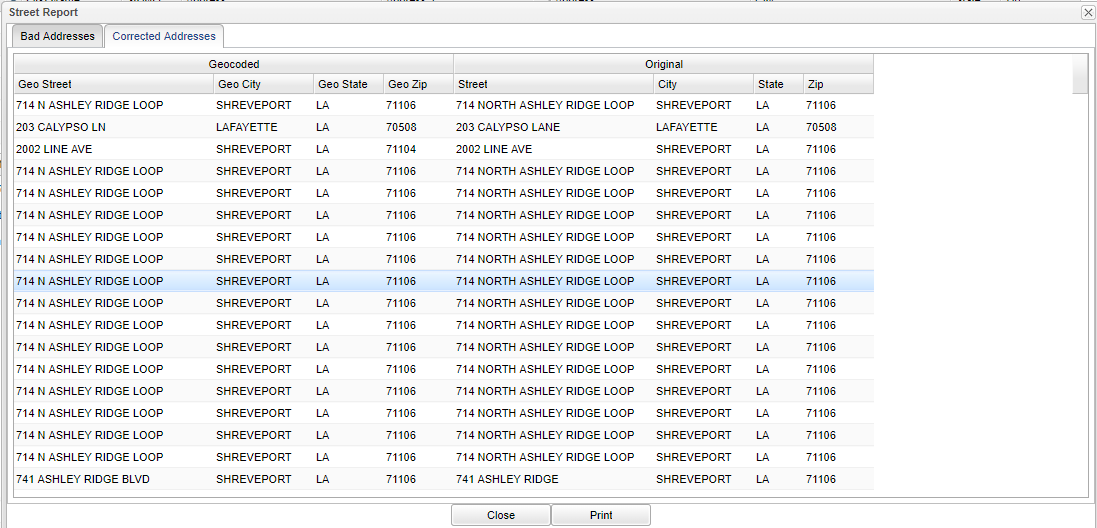
This program will allow you to map and repair your questionable addresses that are listed in the student's demographics in Student Master. Students, who are on the list, have an address that is not marked with latitude and longitude and therefore are defined as questionable.
NOTE: You need security in SIS. Secretaries (SE) would need: User Management / SIS /Questionable Address List / RW
Menu Location
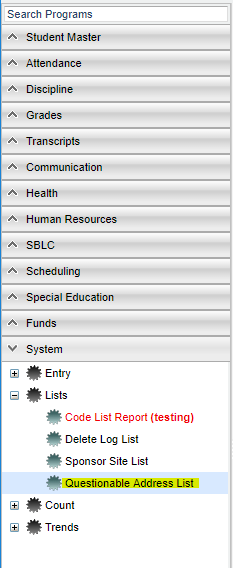
On the left navigation panel, select System > List > Questionable Address List.
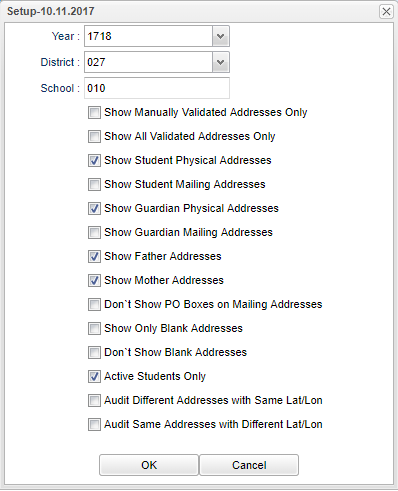
Setup Options
Year - This should be the prior year.
District - This will automatically be your district based on your security settings.
School - You may run this report for one or all of your schools.
Make your selections below to print on your list.
Show Manually Validated Addresses Only
Show All Validated Addresses Only
Show Student Physical Addresses
Show Student Mailing Addresses
Show Guardian Physical Addresses
Show Guardian Mailing Addresses
Show Father Addresses
Show Mother Addresses
Don't Show PO Boxes on Mailing Addresses
Show Only Blank Addresses
Don't Show Blank Addresses
Active Students Only
Audit Different Addresses with Same Lat/Lon - This will display the addresses in the list that have the same latitude/longitude but different addresses. Sort using the latitude/longitude columns.
Audit Same Addresses with Different Lat/Lon - This will display the addresses in the list that have different latitude/longitude but same addresses. Sort using the address column.
OK - Click to continue
Cancel - Cancel choices
To find definitions for standard setup values, follow this link: Standard Setup Options.
Correcting Addresses
Top
Action
Bottom
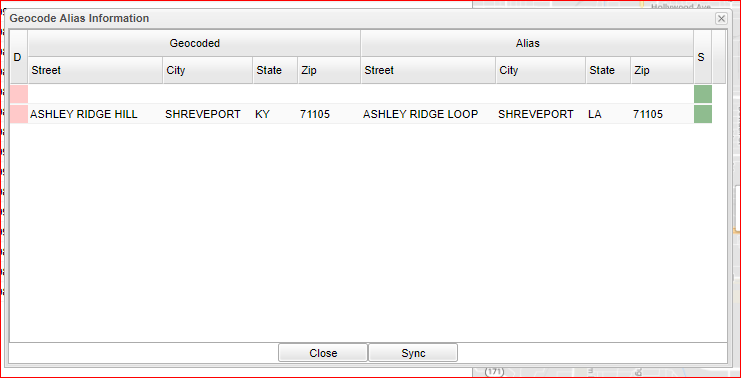
- Alias
This will allow a district to modify a street name that has been presented by Google.
- To enter an Alias, click the Alias button on the bottom of the screen. Use the blank line at the top of the chart to enter a new Alias using the next group of steps.
- In the Geocode cells on the left type the street name (do not use the street number) with the city, state, and zipcode.
- Type the street, city, state and zip code in the Alias cells on the right. By entering an Alias you will be associating the latitude and longitude of the original street name to the new street name and any time the new name is entered it will become a validated street name.
- Click the green save cell at the right end of the newly entered information. The information will be inserted (alphabetically) in the list below.
- The Sync button will give a user the ability to update student addresses to match the alias street address. It will synchronize and validate the addresses in the Alias system with current student addresses, making sure they match the updated Alias information and will mark them as validated.
- Look Up
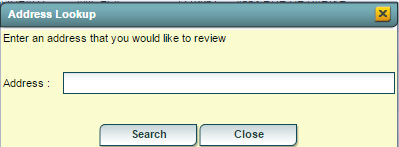
This will allow the user to look up an address and have it show on the map prior to changing a student`s address.
Print Options
To find the print instructions, follow this link: Standard Print Options.
