DMS Maps
This program will display a heat map based on options selected for Students. Attendance. Attendance Zone, Test Scores, Grades, GPA, Discipline. A heat map is a graphical representation of data where the individual values contained in a matrix are represented as colors. This map will show where the students are reside.
Click on System. Under Trends, select District Maps.
NOTE - Upon entering the program, a map of the user`s district will be displayed based on the attendance zones drawn in the DMS System.
Using the rectangle at the top, select a populated (colored) area and a detail chart will pop up listing the students in this chosen area.
Setup Options
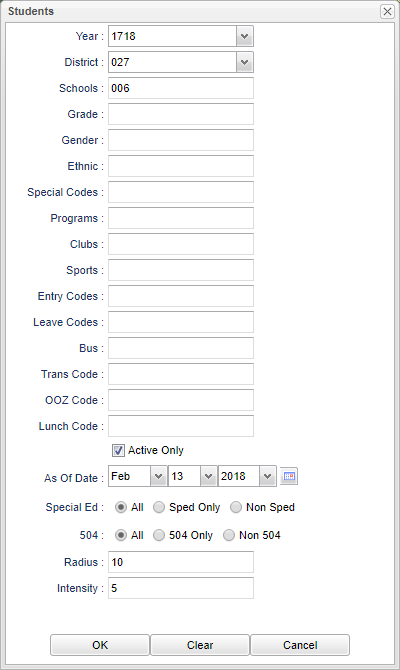
Students
Year - Defaults to the current year. A prior year may be accessed by clicking in the field and making the appropriate selection from the drop down list.
District - Default value is based on your security settings. You will be limited to your district only.
School - Default value is based on your security settings. If you are assigned to a school, the school default value will be your school site code. You will not be able to change this value. If you are a supervisor or other district office employee with access to the Student Information System, you will be able to run programs for one school, a small group of schools, or all schools in your district.
Grade - Grade level of students whose records need to be edited or whose names are to be included on a report. Leave the field blank if all grade levels are to be included. Otherwise, click in the field to the right of Grade(s) to select the desired grade level(s) to be included.
Gender- Gender of students whose records need to be edited or whose names are to be included on a report. Leave the field blank if both genders are to be included. Otherwise, click in the field to the right of Gender to select the desired gender to be included.
Ethnic - Ethnicity of students whose records need to be edited or whose names are to be included on a report. Leave the field blank if all ethnics are to be included. Otherwise, click in the field to the right of Ethnic to select the desired ethnic(s) to be included.
Special Codes- Special Codes must have been entered into the Student Master record for students. Leave blank if all special codes are to be included into the report. Otherwise click in the field to the right of Special Codes to select the desired special code(s) to view.
Program--Leave blank if all program codes are to be included into the report. Otherwise click in the field to the right of Program Codes to select the desired program code(s) to view.
Clubs - Extracurricular activities in which students may participate. Leave blank if all clubs are to be included into the report. Otherwise click in the field to the right of Clubs to select the desired club(s) to view.
Sports - Leave blank if all sports are to be included into the report. Otherwise click in the field to the right of Sports to select the desired sport(s) to view.
Entry Code - Student's entry code into the school.
Leave Code - Student's leave code from the school.
Bus - Select a bus(s) number to filter by.
Trans Codes - A description for the listings from 01-12 listing the codes for the corresponding numbers.
OOZ Code - Leave the field blank if all OOZ Codes are to be included. Otherwise, click in the field to the right of OOZ to select the desired code to be included. Click OK to move back to the main setup screen.
Lunch Code - Select from LU1, LU2, LU3 or LU4 to filter by. Leave the field bland if not filtering by Lunch Codes.
Active Only - This choice will list only those students who are actively enrolled as of the date selected in the date field.
As of Date - This choice will list only those students who are actively enrolled as of the date selected in the date field.
Special Ed
- All - Select to display all students.
- Sped Only - Select to display only sped students.
- Non Sped - Select to display only non sped students.
504
- All - Select to display all students.
- Sped Only - Select to display only 504 students.
- Non Sped - Select to display only non 504 students.
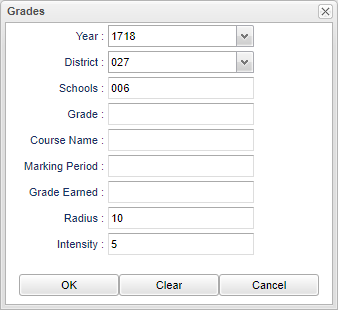
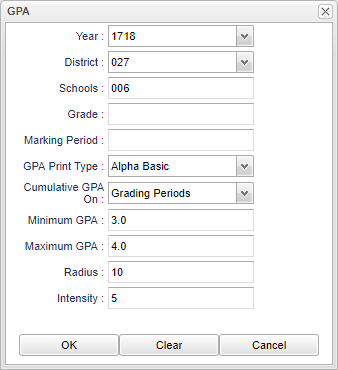
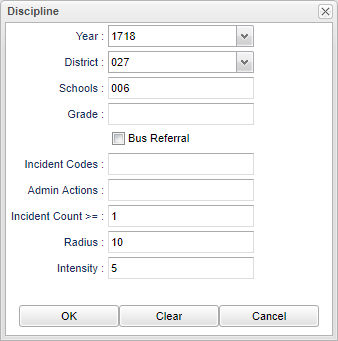
Radius - The radius of influence for each data point in pixels. this causes more points in the same vicinity, defined by pixels on the map, to overlap into the heat map.
Intensity - This intensity each data point carries in pixels. This causes the individual point to be brighter in the hear map overlay.
Click OK to continue.
Click Clear to clear out selection made.
Click Cancel to close the setup box.
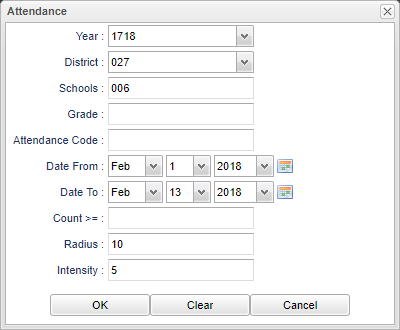
Attendance
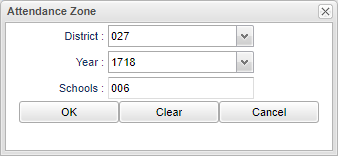
Attendance Zone
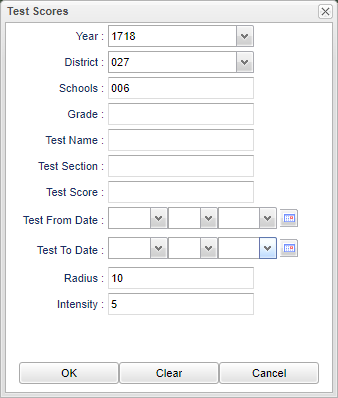
Test Scores
Grades
GPA
Discipline
Clear - This will clear the screen of previous selections.
To find definitions for standard setup values, follow this link: Standard Setup Options.
- Click on the Options menu.
- Click on Students
- Click on Attendance
- Click on Attendance Zone
- Click on Test Scores
- Click on Grades
- Click on GPA
- Click on Discipline
- Click on Clear

