Difference between revisions of "Emergency Plan Management"
| Line 4: | Line 4: | ||
==Menu Location== | ==Menu Location== | ||
| − | [[File: | + | [[File:.png]] |
On the left navigation panel, select '''System > Entry > Emergency Plan Management.''' | On the left navigation panel, select '''System > Entry > Emergency Plan Management.''' | ||
Revision as of 08:02, 8 October 2019
This will provide the user a way to add and change the Emergency Plan Templates.
Menu Location
On the left navigation panel, select System > Entry > Emergency Plan Management.
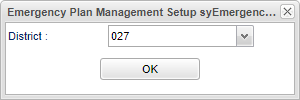
Setup Options
District - Default value is based on the user’s security settings. The user will be limited to their district only.
OK - Click to continue.
To find definitions for standard setup values, follow this link: Standard Setup Options.
Main
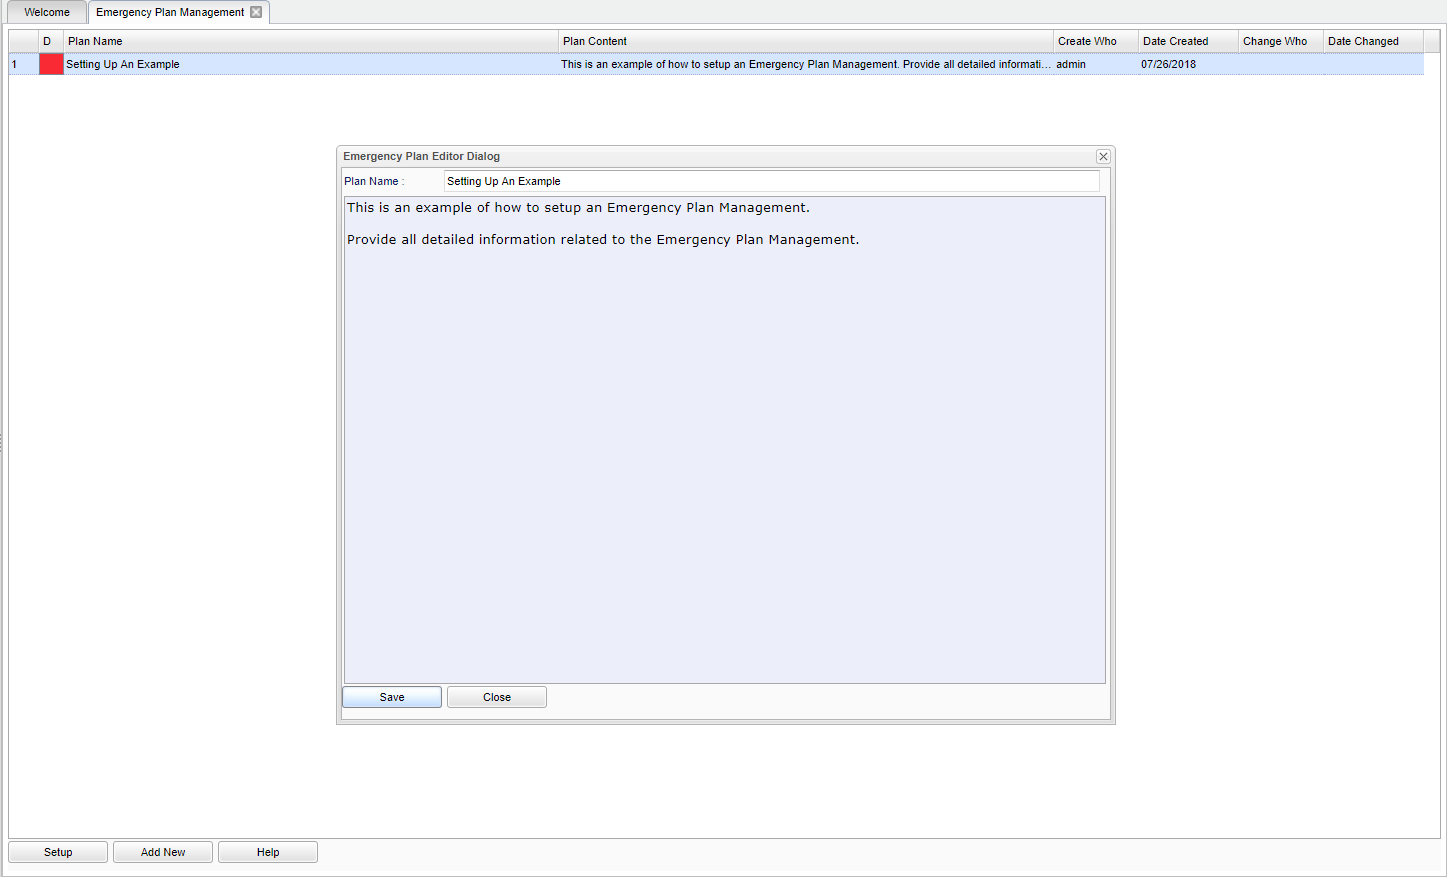
Column Header
D - Select the red box to permanently delete the plan.
Plan Name - The name of the Emergency Plan.
Plan Content - The content of the Emergency Plan.
Create Who - Who created the Emergency Plan.
Date Created - The date the Emergency Plan was created.
Change Who - Who made any changes to the Emergency Plan.
Date Changed - The date the changes were made to the Emergency Plan.
To find definitions of commonly used column headers, follow this link: Common Column Headers.
Bottom
Setup - Click to go back to the Setup box.
Add New - Select to add a new Emergency Plan. See image above under the Main heading. Once the Add New has been selected, give the Emergency Plan a name and then proceed with providing all the Emergency Plan in the text field.
- NOTE - To edit an Emergency Plan, select the Plan Name, the text box will appear. Edit the plan and select Save.
HELP - Click to view written instructions and/or videos.

