Difference between revisions of "Using the iGear"
From EDgearWiki
Jump to navigationJump to search| Line 16: | Line 16: | ||
::'''Attendance >''' | ::'''Attendance >''' | ||
:::Attendance by Day | :::Attendance by Day | ||
| − | :::Tardies | + | :::Tardies |
| + | ::'''Discipline''' | ||
| + | ::'''Schedule >''' | ||
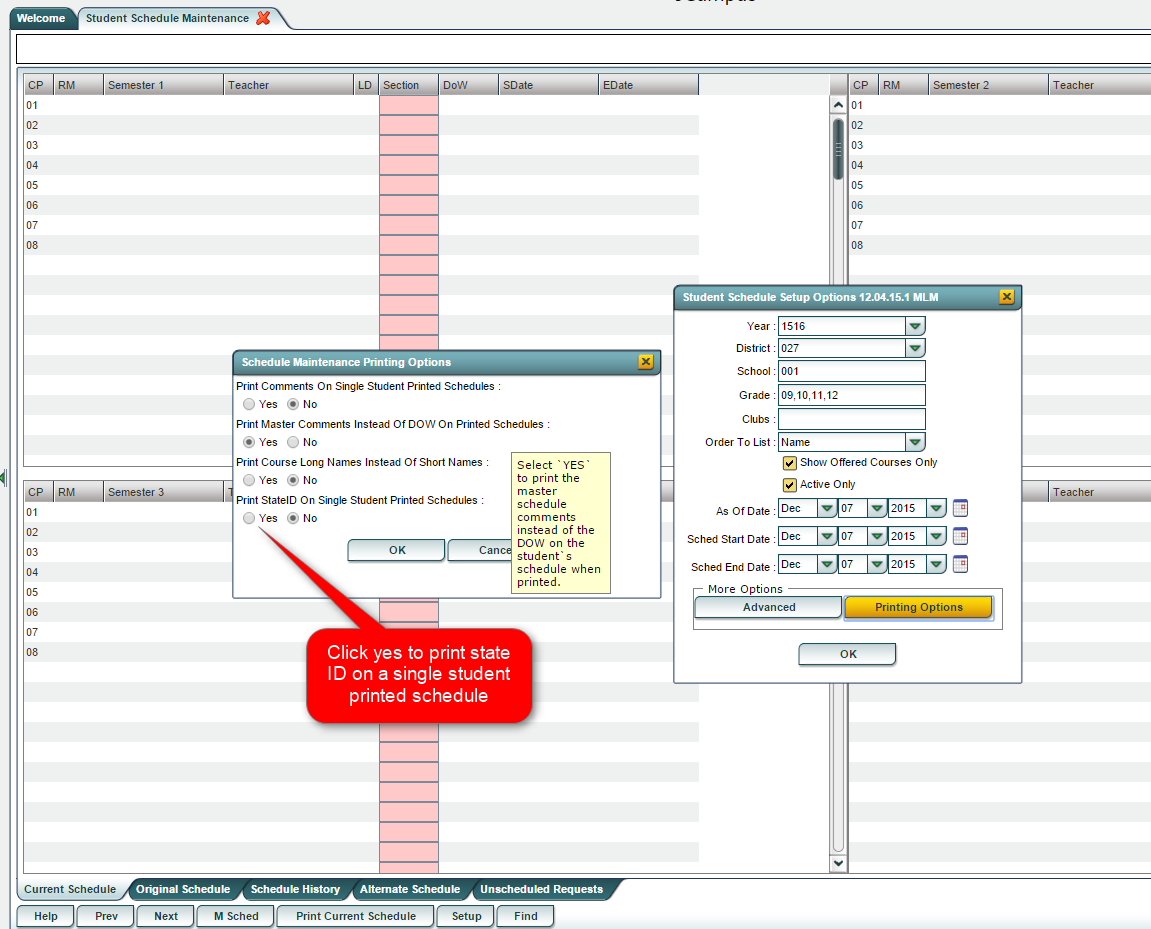
[[File:Schedule Maintenance iGear.png]] | [[File:Schedule Maintenance iGear.png]] | ||
| − | |||
| − | |||
:::Schedule Maintenance | :::Schedule Maintenance | ||
:::Pattern Board | :::Pattern Board | ||
Revision as of 15:38, 7 December 2015
Video
How-to
- Click on the iGear icon
 in any location where it is displayed on screen.
- iGear icons can be found on screens such as Student Master, Attendance, Discipline, WebGradeBook, Transcripts, Scheduling, and SBLC, as well as on many student list reports.
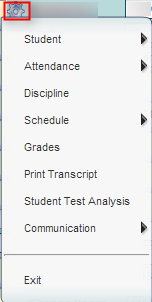
- After clicking on the iGear icon, a menu list will appear as shown below.
- The related student information is organized into the following areas.
- Areas with a right arrow are further divided in additional information areas according to the list below.
- Student >
- Student Demographic
- Special ED Information
- 504 Information
- Health Information
- Attendance >
- Attendance by Day
- Tardies
- Discipline
- Schedule >
- Student >
- Schedule Maintenance
- Pattern Board
- Block Fast Loader
- Grades
- Print Transcript
- Student Test Analysis
- Communication >
- Parent Contact Log
- SPC Login Information
NOTE: to close the iGear, click Exit at the bottom of the list of iGear areas.

