Difference between revisions of "Walk Thru Editor"
From EDgearWiki
Jump to navigationJump to search| Line 10: | Line 10: | ||
== Adding a New Form == | == Adding a New Form == | ||
| − | *Click '''Add Form'''.[[File:Walk_Thru_Editor_-_Add_Form.png]] | + | *Click '''Add Form'''. [[File:Walk_Thru_Editor_-_Add_Form.png]] |
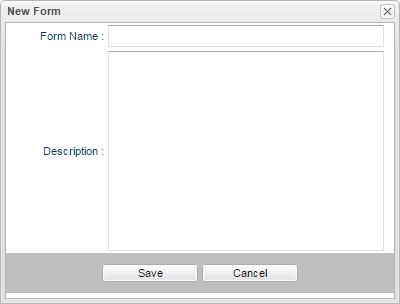
*Enter the name of the new form in the '''Form Name''' field. | *Enter the name of the new form in the '''Form Name''' field. | ||
*Enter a brief description of the new form in the '''Description''' field. | *Enter a brief description of the new form in the '''Description''' field. | ||
*Click '''Save''' to save the new form or click '''Cancel'''. | *Click '''Save''' to save the new form or click '''Cancel'''. | ||
[[File:Walk_Thru_-_New_Form.png]] | [[File:Walk_Thru_-_New_Form.png]] | ||
Revision as of 04:52, 21 April 2017
This program will give a user the ability to create the forms which can be used for walk thru observations. The results can be view in Walk Thru Results.
Setup Box Options
To find definitions for standard setup values, follow this link: Standard Setup Options.
Click the OK to advance to the next page.
