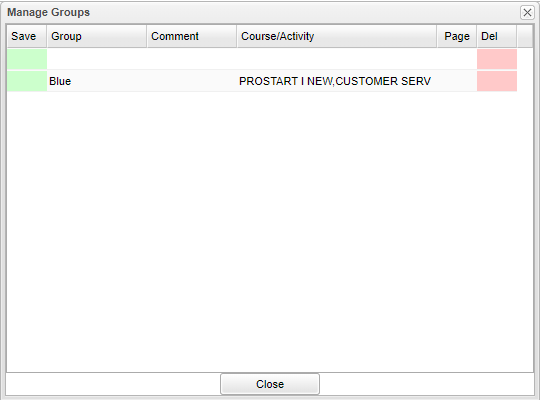
Create Groups
Grouping together courses and/or activities will give the user the ability to create one Page for more than one course/activity.
1. When in the Page Selection area, click the button at the bottom called Manage Groups.
2. The Manage Groups window will open. On the top blank line, click in the cell below the column header Group and enter a name of a group. For example, if you have multiple sections of Algebra I, name the group Algebra I. Then you will only need to create one Page for all of the Algebra I classes. 3. Click in the blank cell below the header Comment to add any notes about the group. (Comment is not a required field.) 4. Click in the blank cell below the header Course/Activity to select all courses and/or activities that will be apart of this group. 5. Click the green Save cell on the left. 6. Repeat steps 2 - 5 until all groups have been created.

