JDrive
From EDgearWiki
Jump to navigationJump to searchJDrive is a way to store and access files for a user in JCampus. This allows you to store exports, attachments, state reporting and more in one place.
Security in User Management

To launch JDrive click on the cloud icon in the upper right hand corner.

Once the JDrive window is visible you will be able to perform basic file operations. The basic window will appear as below:

- Click the up arrow icon,
 , to open the Add File window to upload documents to the JDrive.

- Click the folder icon,
 , to add directories and sub-directories to the JDrive. After clicking the folder icon, the Add Directory window will appear so the user can name the new directory.
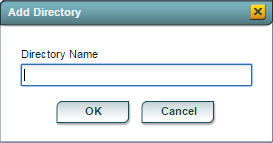

- Click the grid and list,
 , icons to toggle the display.
- Click on the Sort Oder to list your folder/files in the following orders.

- Click in the Search bar,
 , to search for files on the JDrive by name.
- Click the Home button,
 , to return to the main screen of the JDrive after entering directories and sub-directories,
  .
.
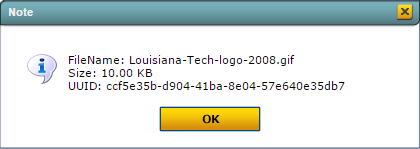
You can right click on a file, ![]() , to get more information, download a file, or remove the file from your JDrive.
, to get more information, download a file, or remove the file from your JDrive.

- Click Get Info to get the File Name, Size, and the UUID.

- Click Download to get a preview of the file. Right click on the preview to save it to a location on the user`s computer.
- Click Delete to remove the file or directory from the JDrive.