Location Scanning
From EDgearWiki
Jump to navigationJump to searchThis program will give users the ability to track a student's or staff's location by scanning an ID card bar code.
NOTE - Security settings are entered in the User Management system. If you are limited in the actions that you can do with buttons and/or cells being grayed out, you must have specific permissions.

- to modify the date/time field on the setup box (Category > Attendance, Program > Location Scanning , Action > Allow Scanning Date Override)
How To:
- On the left navigation panel, click Attendance, then Entry, then Location Scanning.
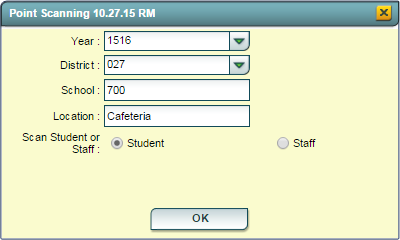
- On the setup box, the Year field will be defaulted to the current school year. District and School will be set based on the user`s security.
- For the Location field, click to select a previously used location. If the desired location is not listed, close the pick list and begin to type the name of the new location. This will add the new location to the pick list.
- For Scan Student or Staff, select whether students or staff members will be scanned.
- Click OK.
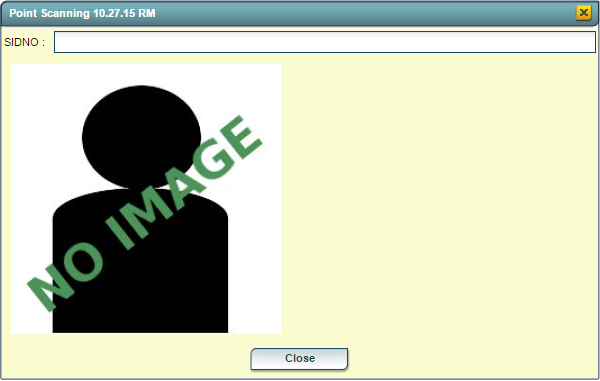
- After OK is clicked, the Location Scanning box will appear. Scan a person`s ID card or type in the staff or student ID number and press Enter on the keyboard to record that person`s location. Or, if you wait, the entry will automatically record to the graph at the top right of the screen.
- Once a student`s ID is scanned or entered, their picture will be displayed with their name, grade, homeroom teacher, and the Scan Time. Once a staff`s ID is scanned or entered, their picture will be displayed with the Scan Time.
- Once a student`s ID is scanned or entered, their picture will be displayed with their name, grade, homeroom teacher, and the Scan Time. Once a staff`s ID is scanned or entered, their picture will be displayed with the Scan Time.
- A list will appear in the background with a delete cell/column, the person`s name, the date and time of the scan, and the location.
- An optional method of entering information is to use the top blank line on the scan list to select a teacher/student and manually enter the date/time and the location.
- Be sure to click the Save cell when entering a record manually.
- A user can also edit existing records by selecting the info in the cell that needs editing, make the changes and click the Save cell.


Action-- Use the Action button to perform the following actions.
- Use this link to print the list of persons scanning in for the selected date or date range. Scan Entry Report
- Use this link to create a report for persons who scanned in but did not scan out. Scan Error Report
- Use this link to create the weekly/monthly time cards. Timecard Report
- Use this link to create a report that determines the amount of travel time when a person is assigned to more than one site. Travel Time Report
Delete Locations- Delete saved locations created for scanning.
Buttons
- Setup: Click to go back to the Setup box.
- Print: To find the print instructions, follow this link: Standard Print Options.
- Help: Opens the JCampus documentation which includes written instructions and/or videos.