Difference between revisions of "JDrive"
From EDgearWiki
Jump to navigationJump to search| Line 12: | Line 12: | ||
#*Click the '''Home''' button, [[File:8_JDrive_Home.png]], to return to the main screen of the '''JDrive''' after entering directories and sub-directories, [[File:9_JDrive_Folder.png]]. | #*Click the '''Home''' button, [[File:8_JDrive_Home.png]], to return to the main screen of the '''JDrive''' after entering directories and sub-directories, [[File:9_JDrive_Folder.png]]. | ||
#You can right click on a file, [[File:10_JDrive_File.png]], to get more information, download a file, or remove the file from your JDrive. <p>[[File:3_JDrive_Right_Click.png]]</p> | #You can right click on a file, [[File:10_JDrive_File.png]], to get more information, download a file, or remove the file from your JDrive. <p>[[File:3_JDrive_Right_Click.png]]</p> | ||
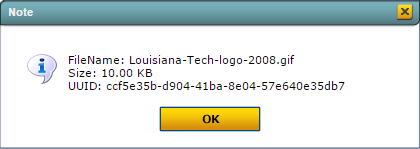
| − | #*Click '''Get Info''' to get the '''File Name''', '''Size''', and the '''UUID'''. <p>[[File: | + | #*Click '''Get Info''' to get the '''File Name''', '''Size''', and the '''UUID'''. <p>[[File:14_JDrive_Get_Info.png]]</p> |
#*Click '''Download''' to get a preview of the file. Right click on the preview to save it to a location on the user`s computer. | #*Click '''Download''' to get a preview of the file. Right click on the preview to save it to a location on the user`s computer. | ||
#*Click '''Delete''' to remove the file or directory from the '''JDrive'''. | #*Click '''Delete''' to remove the file or directory from the '''JDrive'''. | ||
Revision as of 15:44, 2 February 2016
JDrive is a way to store and access files for a user in JCampus. This allows you to store exports, attachments, state reporting and more in one place.
How To
- To launch JDrive click on the cloud icon in the upper right hand corner.

- Once the JDrive window is visible you will be able to perform basic file operations. The basic window will appear as below:
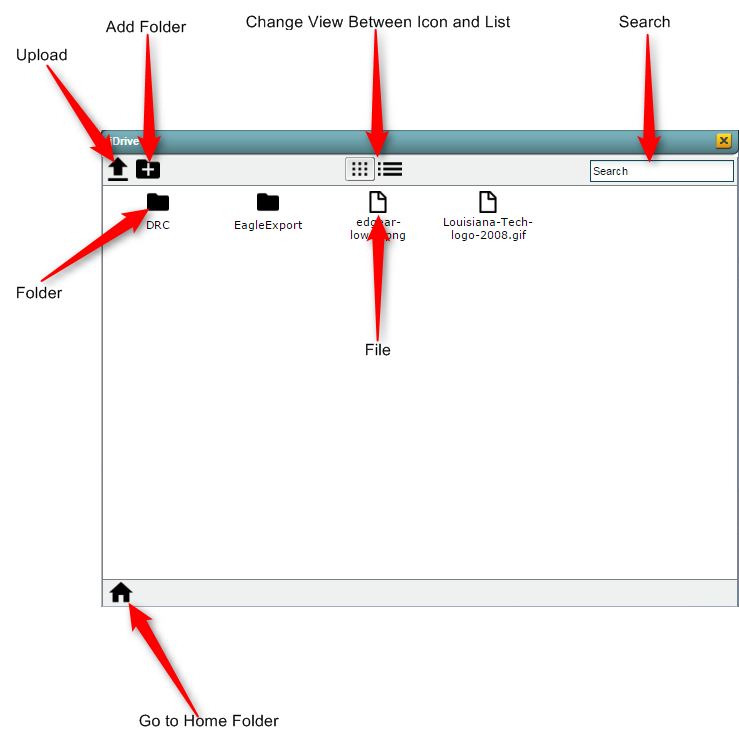
- Click the up arrow icon,
 , to open the Add File window to upload documents to the JDrive.
- Click the folder icon,
 , to add directories and sub-directories to the JDrive. After clicking the folder icon, the Add Directory window will appear so the user can name the new directory.
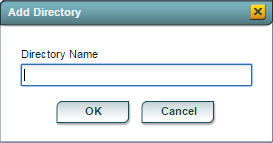
- Click the grid and list,
 , icons to toggle the display.
 - Click in the Search bar,
 , to search for files on the JDrive by name.
 - Click the Home button,
 , to return to the main screen of the JDrive after entering directories and sub-directories,
  .
.
- Click the up arrow icon,
- You can right click on a file,
 , to get more information, download a file, or remove the file from your JDrive.
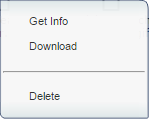
- Click Get Info to get the File Name, Size, and the UUID.
- Click Download to get a preview of the file. Right click on the preview to save it to a location on the user`s computer.
- Click Delete to remove the file or directory from the JDrive.
- Click Get Info to get the File Name, Size, and the UUID.


