Difference between revisions of "JDrive"
From EDgearWiki
Jump to navigationJump to search| Line 6: | Line 6: | ||
#To launch JDrive click on the cloud icon in the upper right hand corner. <p>[[File:1_JDrive_Button.png]]</p> | #To launch JDrive click on the cloud icon in the upper right hand corner. <p>[[File:1_JDrive_Button.png]]</p> | ||
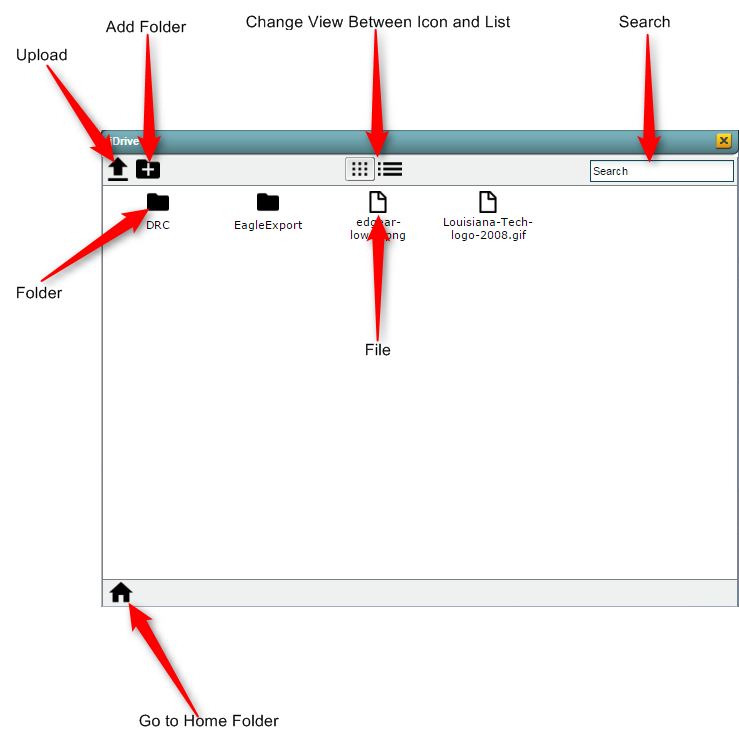
#Once the JDrive window is visible you will be able to perform basic file operations. The basic window will appear as below: <p>[[File:2_JDrive_Window.png]]</p> | #Once the JDrive window is visible you will be able to perform basic file operations. The basic window will appear as below: <p>[[File:2_JDrive_Window.png]]</p> | ||
| + | #*Click the up arrow icon, [[File:4_JDrive_Upload.png]], to open the '''Add File''' window to upload documents to the '''JDrive'''. <p>[[File:11_JDrive_Upload_Window.png]]</p> | ||
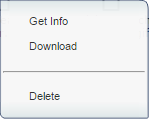
#You can right click on a file to get more information, download a file or remove the file from your JDrive. <p>[[File:3_JDrive_Right_Click.png]]</p> | #You can right click on a file to get more information, download a file or remove the file from your JDrive. <p>[[File:3_JDrive_Right_Click.png]]</p> | ||
Revision as of 08:33, 2 February 2016
JDrive is a way to store and access files for a user in JCampus. This allows you to store exports, attachments, state reporting and more in one place.
How To
- To launch JDrive click on the cloud icon in the upper right hand corner.

- Once the JDrive window is visible you will be able to perform basic file operations. The basic window will appear as below:
- Click the up arrow icon,
 , to open the Add File window to upload documents to the JDrive.
- Click the up arrow icon,
- You can right click on a file to get more information, download a file or remove the file from your JDrive.