Difference between revisions of "Report"
From EDgearWiki
Jump to navigationJump to search| (One intermediate revision by the same user not shown) | |||
| Line 20: | Line 20: | ||
==My Reports Columns== | ==My Reports Columns== | ||
| − | '''D''' - | + | '''D''' - Delete Report Template. |
| − | '''Title''' - | + | '''Title''' - Report Template title. |
| − | '''Description''' - | + | '''Description''' - Custom description of the report template. |
| − | '''Save Date''' - | + | '''Save Date''' - Date report template was saved. |
'''Share''' - Share reports to other users. | '''Share''' - Share reports to other users. | ||
| Line 34: | Line 34: | ||
==Shared With Me Columns== | ==Shared With Me Columns== | ||
| − | '''Title''' - | + | '''Title''' - Report Template title. |
| − | '''Description''' - | + | '''Description''' - Custom description of the report template. |
| − | '''Save Date''' - | + | '''Save Date''' - Date report template was saved. |
'''Share''' - Share reports to other users. | '''Share''' - Share reports to other users. | ||
Latest revision as of 08:48, 20 May 2024
This feature called Report, which is found in several programs, provides the user a way to create and save reports for use over and over again.
- Make a report as you normally would in a program by choosing the filters needed (except for year, district, as of date, and school unless the user is a 700 level).
- The user can also change the widths, position, sort order, sort within sort, of the columns as well as hiding and freezing the columns.
- Once the report is completed and showing, click on Save at the bottom of the screen.
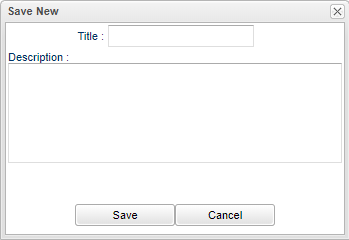
- In the Save New box, add a Title and Description.
- Click on Save.
- Now this report will appear in the "Reports Available" chart as shown below (#16).
- The user can now access this report as needed, eliminating the need to create it over and over again.
- Either click on the setup box Reports field or on the Reports screen field, to access stored versions of the reports.
- If a report has been selected, the name of the report will remain in the setup box field until the program has been closed or until a different report has been selected.
- A currently stored report displaying in the Report fields can be edited by changing filter fields, column features, etc. and choosing Replace.
- The changes will be saved in the report when the Save button at the bottom of the screen is clicked and then the user has a choice of either Replace or New.
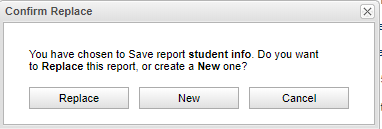
- Choose Replace or New.
- Now the originally stored report has been replaced with the new edits or a new report has been created.
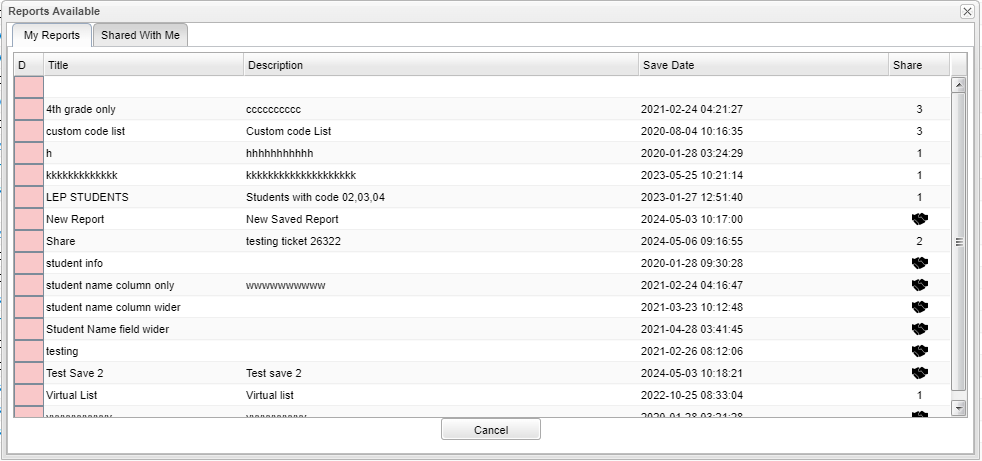


My Reports Columns
D - Delete Report Template.
Title - Report Template title.
Description - Custom description of the report template.
Save Date - Date report template was saved.
Share - Share reports to other users.

Title - Report Template title.
Description - Custom description of the report template.
Save Date - Date report template was saved.
Share - Share reports to other users.